
AG Custom Ribbon Tab Builder
Win64, EnglishGeneral Usage Instructions
Installation: Please refer to the Installation/Uninstallation section below.
- Initial Setup: After installation and launching Revit, navigate to the "Custom Tab" that is automatically generated. Click on the "Tab Setup" button and follow the simple on-screen instructions to start customizing.
- Moving Panels/Buttons: Select the panels or buttons you want to relocate from other tabs, right-click, and opt to 'Move to Custom Tab'.
- Renaming Tab: The custom tab can be renamed to suit your needs.
- Settings Management: The "Settings" option allows you to save, export, or import your configuration.
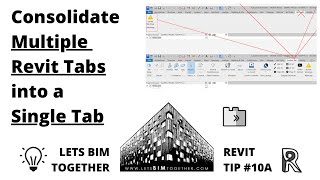
Screenshots


Commands
Installation/Uninstallation
Installation:
Download AG Custom Ribbon Tab Builder from the Autodesk Appstore.
Execute the installer and complete the on-screen directions.
Launch Autodesk Revit. A new tab named "Custom Tab" will be created under the Revit ribbon.
Uninstallation:
Close Autodesk Revit.
Go to your computer's 'Control Panel' and then 'Programs and Features'.
Locate 'AG Custom Ribbon Tab Builder' and click 'Uninstall'. Follow the subsequent prompts.
Additional Information
Known Issues
Contact
Author/Company Information
Support Information
For support email support@LetsBIMtogether.com or visit www.LetsBIMtogether.com
Version History
| Version Number | Version Description |
|---|---|
|
4.1.1 |
Added 2027 support. Changed font (compatibility). |
|
3.1.2 |
New code signing certificate. |
|
3.1.1 |
Revit 2026 support |
|
2.1.1 |
Revit 2025 support |
|
1.1.1 |
Initial Release |
