
Auto Finishes
Win64, EnglishBimminent
This Autodesk® Revit® plugin helps you save time when assigning room finishes - floor tiles, walls and ceilings.
General Usage Instructions
- Go to the Add-Ins tab on the ribbon menu in Revit.
- Click on the Room Finishes button.
- The Room Finishes window will appear and you can use it to select a Floor Type, Wall Type, and Ceiling type for your finishes. You can also choose which of those you want to create.
- You can set the height for the ceiling and walls. The height is in your project’s units of length.
- You can select rooms in your project by filtering by Room Name and Room Number.
- When you are ready with the selection press the “Create Finishes” button.
- When the tool is done working you’re going to see a confirmation of what has been created.
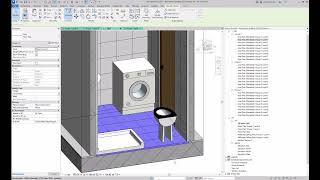
Screenshots


Commands
Installation/Uninstallation
The installer that ran when you downloaded this app/plug-in from Autodesk App Store will start installing the app/plug-in. OR, simply double-click the downloaded installer to install the app/plugin.
To uninstall this plug-in, exit the Autodesk product if you are currently running it, simply rerun the installer, and select the "Uninstall" button. OR, click Control Panel > Programs > Programs and Features (Windows 10/11) and uninstall as you would any other application from your system.
Additional Information
Known Issues
Contact
Company Name: Bimminent
Support Contact: biminent@gmail.com
Author/Company Information
Bimminent
Support Information
Please check for updates regularly within the Help and Support window.
Contact - bimminent@gmail.com
Version History
| Version Number | Version Description |
|---|---|
|
1.0.0 |
Initial release |
